Introduction
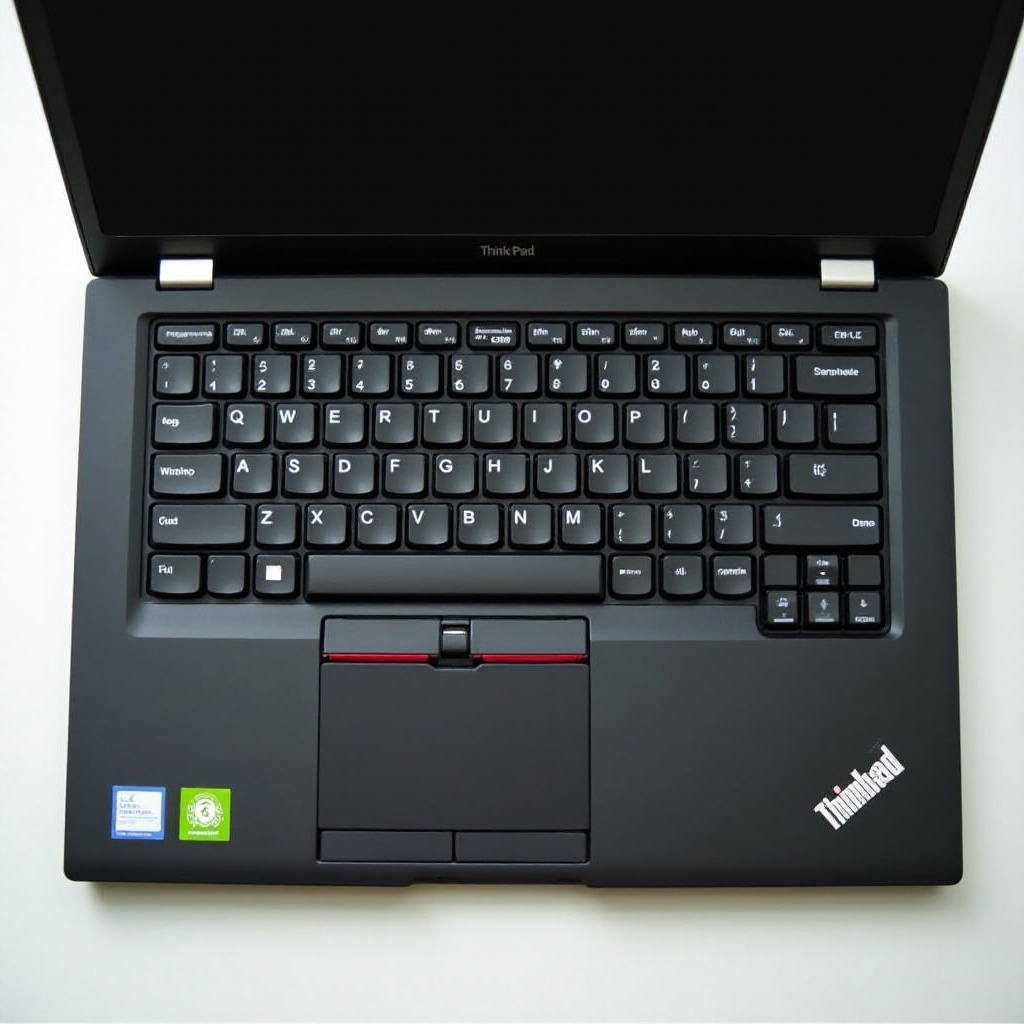
Keyboard issues can be frustrating, especially when you are in the middle of important tasks. If you own a ThinkPad X390 and are experiencing non-responsive keys, do not worry. This guide will provide you with effective solutions to diagnose and fix the problem. By following these steps, you can get your keyboard back in working order without needing professional help.

Common Causes of Keyboard Malfunctions
Hardware vs. Software Issues
Understanding whether your keyboard problem stems from hardware or software is critical. Hardware issues may include physical damage or wear and tear. Software problems might involve outdated drivers or system errors. Differentiating between these can help you address the root cause more efficiently.
Identifying Typical Symptoms
Non-responsive keys can manifest in various ways. Some keys may not work at all, some might work intermittently, or there may be a delay in response. Recognizing these symptoms will guide you in choosing the correct troubleshooting method.

Initial Troubleshooting Steps
Restart Your Laptop
The first and simplest step is to restart your ThinkPad X390. A quick reboot can often resolve temporary software glitches causing keyboard issues.
Physical Inspection for Damage or Debris
Inspect your keyboard for any visible physical damage or debris lodged under the keys. Gently clean the keyboard using compressed air to remove dust or particles that might be obstructing key function.
Check for Software and Driver Updates
- Update Keyboard Drivers: Ensure your keyboard drivers are up-to-date. You can do this via Device Manager:
- Right-click the Start button and select Device Manager.
Expand the Keyboards section, right-click your keyboard device, and select Update Driver.
Run System Updates: Check for any pending Windows updates, as these can include important driver updates.
- Go to Settings > Update & Security > Windows Update and click Check for updates.
If these simple steps do not resolve the issue, you may need to look deeper into more advanced diagnostic methods.

Advanced Diagnostic and Repair Methods
Reinstall Keyboard Drivers
If updating drivers does not help, try reinstalling them:1. Open Device Manager.2. Right-click your keyboard device and select Uninstall Device.3. Restart your laptop and let Windows reinstall the drivers automatically.
Booting in Safe Mode
Booting your laptop in Safe Mode can help determine if third-party software is causing the keyboard issue.1. Press 'Windows + R,' type 'msconfig,' and hit Enter.2. Under the Boot tab, check Safe Boot, then restart your laptop.3. Test your keyboard in Safe Mode. If it works, a third-party application might be to blame.
BIOS/UEFI Settings Check
Accessing BIOS or UEFI settings can help you diagnose hardware issues.1. Restart your laptop and press 'F1' or 'F12' (specific key may vary) to enter BIOS mode.2. Navigate to the keyboard testing section and follow the on-screen instructions.
Using Lenovo Diagnostics Tool
Lenovo provides diagnostic tools to identify and fix hardware issues:1. Download and install the Lenovo Diagnostics Tool from the Lenovo support website.2. Run a full system scan and follow any recommended fixes for keyboard problems.
If these diagnostics do not reveal the issue, it may be time to consider hardware solutions.
Hardware Solutions
Cleaning the Keyboard
If debris is causing the keys to jam, deep cleaning might be necessary:1. Turn off your laptop and unplug any power sources.2. Use a can of compressed air to blow out any dust or particles lodged under the keys.3. For stubborn residue, gently clean the keys with a soft brush or a lint-free cloth dampened with isopropyl alcohol.
Replacing Faulty Components
If cleaning does not resolve the issue, you may need to replace the keyboard or its components:1. Purchase a compatible keyboard replacement for the ThinkPad X390.2. Follow a detailed guide or seek professional help to install the new keyboard.
External Keyboard as an Interim Solution
As a temporary fix, you can use an external USB keyboard:1. Plug the external keyboard into your laptop.2. Use it while you troubleshoot the built-in keyboard issues.
Taking these steps can address many hardware issues. However, preventing these issues in the first place is always preferable.
Preventive Measures
Regular Maintenance Tips
Regular maintenance can prevent future keyboard issues:1. Clean your keyboard periodically to avoid dust build-up.2. Avoid eating and drinking near your laptop to prevent spills.
Creating a Safe Working Environment
Maintaining a clutter-free and safe workspace can prolong your keyboard’s lifespan:1. Use a keyboard cover to protect against debris and spills.2. Ensure a stable surface area to avoid accidental damage.
By incorporating these preventive measures, you can avoid many common keyboard issues, ensuring a longer life for your ThinkPad X390 keyboard.
Utilizing Lenovo Support
Accessing Lenovo Help Resources
Lenovo offers extensive online resources for troubleshooting and repair:1. Visit the Lenovo support website for manuals, videos, and live chat assistance.2. Join Lenovo forums to seek advice from other users.
Warranty Considerations
If your ThinkPad X390 is still under warranty, contacting Lenovo support might be the best option:1. Provide your laptop’s serial number to check warranty status.2. Follow their instructions for repair or replacement services.
If Lenovo support is unable to help, or if your warranty has expired, you may still find solutions through the resourceful tips provided earlier.
Conclusion
By following this guide, you can diagnose and fix the issue of non-responsive keys on your ThinkPad X390. Whether the problem is due to software glitches, physical obstructions, or hardware malfunctions, these methods will help you restore your keyboard’s functionality. Remember, maintaining your keyboard through regular cleaning and cautious use can prevent many of these issues.
Frequently Asked Questions
What should I do if my keyboard still doesn’t work after trying all the steps?
If your keyboard remains unresponsive after following all troubleshooting steps, it may be necessary to contact Lenovo support for professional assistance or consider replacing the keyboard.
How can I avoid future keyboard issues on my ThinkPad X390?
Regular cleaning and maintenance, as well as using a keyboard cover, can help prevent debris build-up and spills. Creating a clutter-free workspace also minimizes the risk of accidental damage.
Are there specific tools or software recommended for diagnosing keyboard issues?
Using the Lenovo Diagnostics Tool is highly recommended for identifying hardware-related problems. Additionally, keeping your drivers and system updated can prevent software-related issues.
