Introduction
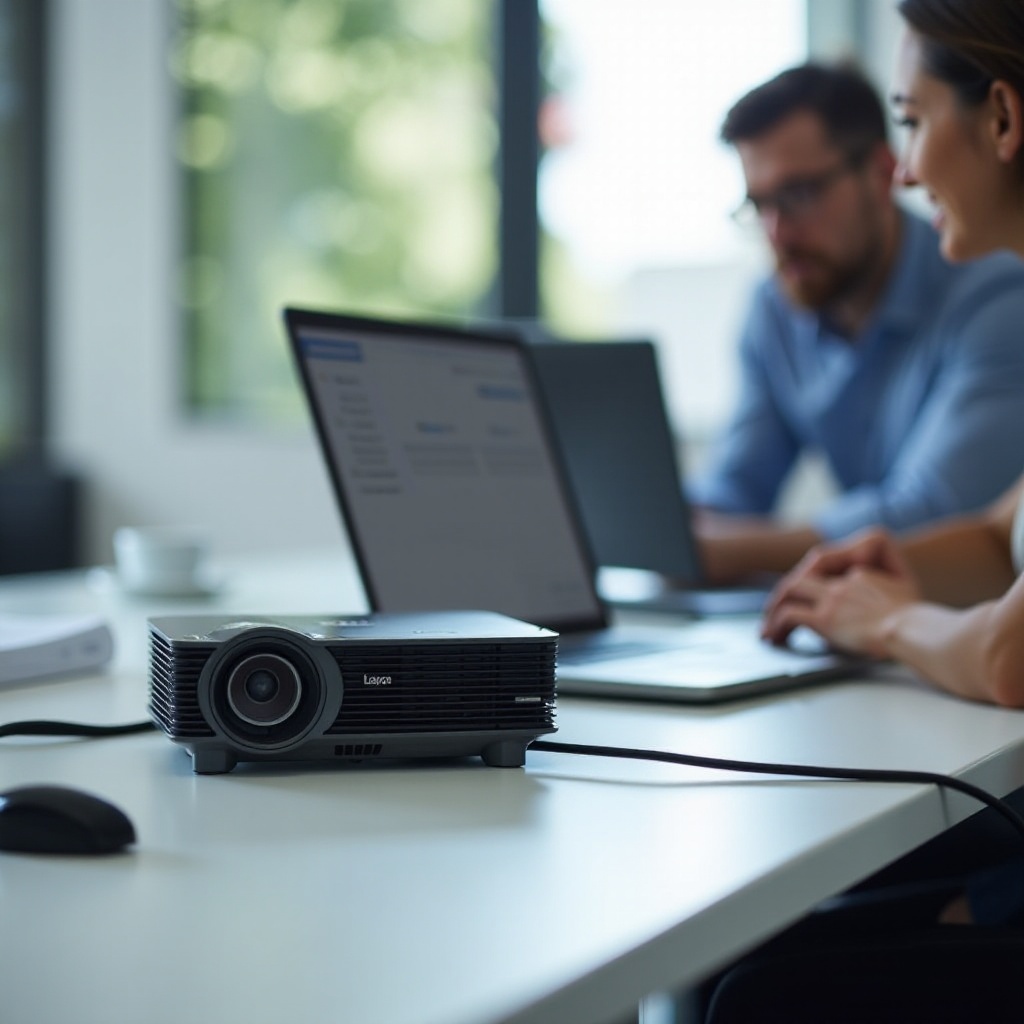
Connecting a projector to a computer may seem complicated, but it's straightforward when you follow the right steps. Whether you're preparing for a business presentation, a classroom lecture, or a movie night, knowing how to hook up your projector to your computer is essential for a seamless experience. This guide will walk you through the process, covering all the equipment you need, the connection steps for different operating systems, troubleshooting tips, and optimizing your projector settings.
Understanding Your Equipment
Before you start, it's important to understand the different types of projectors and computer ports available. Knowing what you're working with can help you choose the right cables and adapters, ensuring a smooth connection.
Types of Projectors
Projectors come in various types, including LCD, DLP, and LED. Each type has its advantages:- LCD Projectors: Known for their bright, clear images and accurate color reproduction.- DLP Projectors: Popular for their high contrast and excellent 3D capabilities.- LED Projectors: Renowned for their long-lasting bulbs and energy efficiency.
Computer Ports and Connectors
Your computer may have multiple ports, but the most common for projectors are:- HDMI: High-definition multimedia interface, providing both video and audio signals.- VGA: Video graphics array, offering video signals only.- USB-C: A versatile port that can transmit video, audio, and data.
Necessary Cables and Adapters
Ensure you have the right cables and adapters:- HDMI Cable: Ideal for most modern projectors.- VGA Cable: Commonly used with older projectors and computers.- USB-C Adapters: Useful for newer computers that only have USB-C ports.
Connecting the Projector to a Windows Computer
Connecting a projector to a Windows computer involves a few straightforward steps. Depending on the ports available on both your projector and computer, you can choose the method that suits you best.
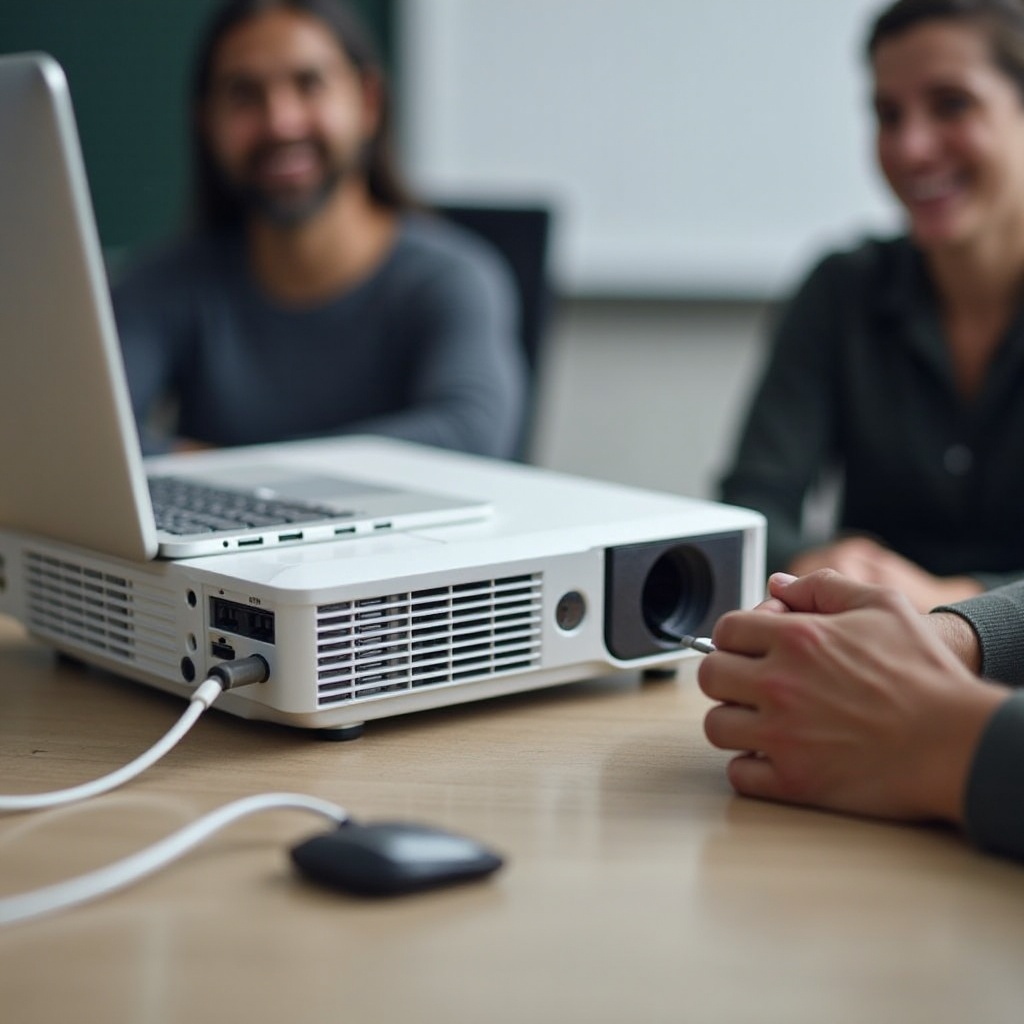
Using an HDMI Cable
- Plug one end of the HDMI cable into your computer's HDMI port.
- Insert the other end into the projector's HDMI input.
- Turn on both devices.
- Press the 'Windows + P' keys on your keyboard.
- Choose a display option: Duplicate, Extend, or Second screen only.
Using a VGA Cable
- Connect one end of the VGA cable to your computer's VGA port.
- Attach the other end to the projector's VGA input.
- Turn on your computer and projector.
- Press the 'Windows + P' keys.
- Select the desired display mode.
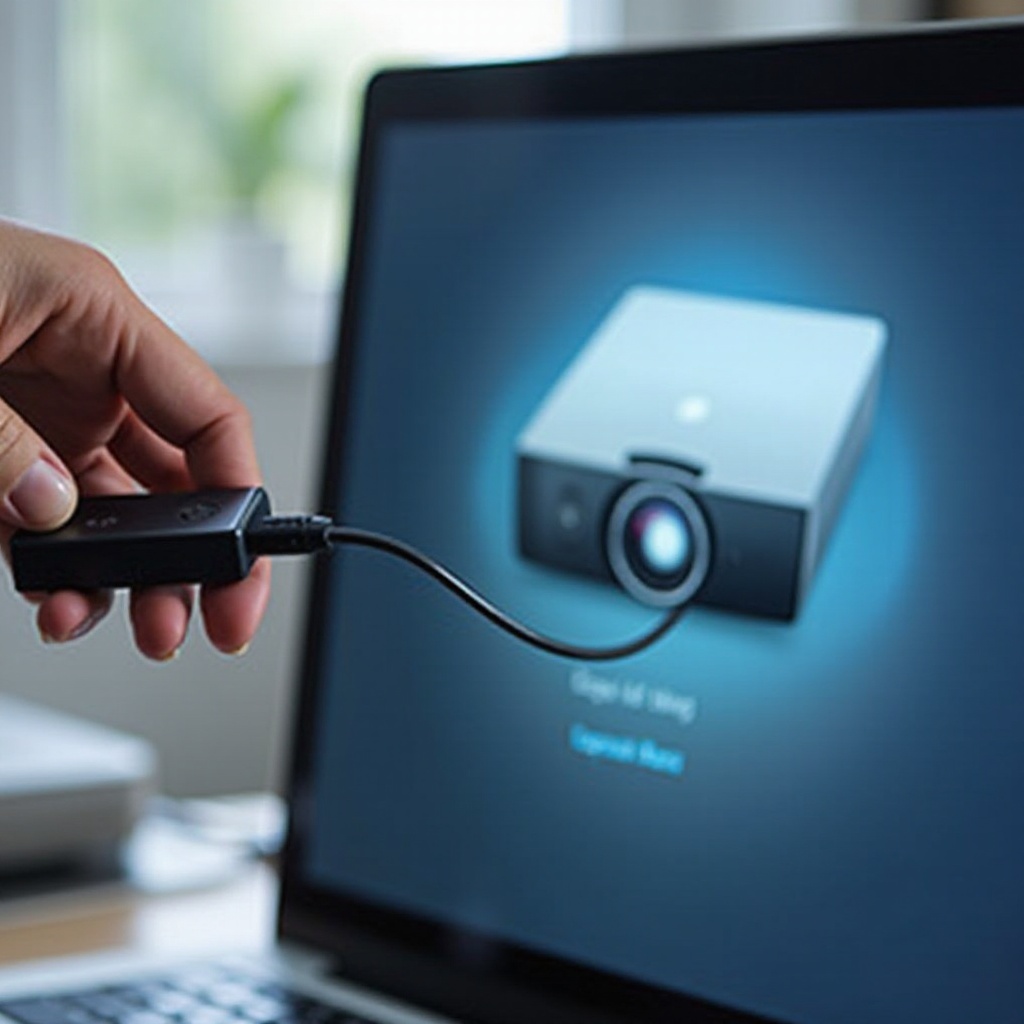
Wireless Connection Options
For a wireless setup, you can use devices like Miracast or Chromecast:1. Insert the Miracast or Chromecast into your projector's HDMI port.2. Follow the on-screen instructions to connect it to your computer.3. Ensure both devices are on the same Wi-Fi network.
Connecting the Projector to a Mac Computer
Connecting a Mac computer to a projector is equally simple. Depending on your Mac's ports, you can choose between HDMI, VGA, or wireless options.
Using an HDMI Cable
- Connect the HDMI cable to your Mac's HDMI port.
- Attach the other end to the projector.
- Turn on both devices.
- Click on the 'Apple Menu' and go to 'System Preferences'.
- Select 'Displays' and choose the desired display arrangement.
Using a VGA Cable
- Connect one end of the VGA cable to your Mac using a VGA adapter.
- Plug the other end into the projector.
- Turn on both the Mac and the projector.
- Go to 'System Preferences' and select 'Displays'.
- Adjust the display settings as needed.
Wireless Connection Options
For a wireless setup:1. Use an Apple TV, AirPlay, or compatible streaming device.2. Connect the device to your projector.3. Ensure both your Mac and the device are on the same Wi-Fi network.4. Click on the AirPlay icon in the menu bar and select the projector.
Configuring Display Settings
After establishing the connection, configure your display settings to ensure optimal performance. The setup process for Windows and Mac computers is simple yet critical in achieving the best viewing experience.
Windows Display Settings
- Right-click on the desktop and select 'Display settings'.
- Under the 'Multiple displays' section, select your preferred display option: Duplicate, Extend, or Second screen only.
- Adjust the resolution to match the projector's capabilities.
Mac Display Settings
- Go to 'System Preferences' and click on 'Displays'.
- In the Display tab, choose 'Mirror Displays' to duplicate your screen or arrange displays for extended view.
- Adjust the resolution and orientation as per the projector’s specifications.
Troubleshooting Common Issues
Even with the correct setup, you might encounter some common issues. Here are solutions to address these problems and ensure a seamless connection.
No Signal Detected
- Ensure both devices are turned on.
- Check that all cables are securely connected.
- Select the correct input source on the projector.
Resolution Problems
- Adjust the computer’s display settings to match the projector’s native resolution.
- Update your computer’s graphics drivers.
- Try a different cable or adapter if the issue persists.
Audio Not Working
- If using HDMI, ensure that the audio settings route through the projector.
- For VGA connections, use an additional audio cable or external speakers.
- Check the volume levels on both devices.
Optimizing Your Projector Settings
Once the connection is established and functioning correctly, optimize your projector settings for the best visual and audio experience. This final touch can make a significant difference.
Adjusting Brightness and Contrast
- Navigate to the projector’s settings menu.
- Increase or decrease the brightness according to the room lighting.
- Adjust contrast to enhance the picture quality.
Keystone Correction
- Locate the keystone adjustment in the projector settings.
- Use the keystone correction feature to rectify distorted images.
- Ensure the projected image is rectangular and proportionate.
Picture Modes
- Explore different picture modes, such as Standard, Cinema, or Presentation.
- Select the mode that best fits your content and environment.
- **Save your settings for future use.
Conclusion
Connecting a projector to a computer is a straightforward process when you understand your equipment, follow the correct steps, and troubleshoot common issues. Whether using Windows or Mac, wired or wireless connections, this guide simplifies the process for a hassle-free experience. Enjoy your presentations, lectures, or entertainment with a perfectly set up projector.
Frequently Asked Questions
What should I do if my projector is not displaying any image?
If your projector is not displaying any image, ensure both devices are powered on, and all cables are securely connected. Check the input source selection on the projector and try a different cable or port if necessary.
Can I connect a projector to a computer wirelessly?
Yes, you can connect a projector to a computer wirelessly using devices such as Miracast, Chromecast, or Apple TV. Ensure both your computer and the wireless device are on the same Wi-Fi network and follow the setup instructions.
How do I get sound when using a projector?
For an HDMI connection, ensure the audio settings route through the projector. For VGA connections, use an additional audio cable or external speakers. Verify the volume levels on both the computer and the projector are adjusted correctly.