Introduction
Scanning documents with a printer is a fundamental skill for both home and office environments. Whether you need to keep digital copies of important paperwork, send documents via email, or reduce physical clutter, knowing how to scan efficiently can save time and frustration. This comprehensive guide will walk you through the process step-by-step, addressing everything from setup to troubleshooting.
Preparing Your Printer and Documents
Before you can start scanning, it's essential to prepare your printer and documents. Here’s what you need to do:
- Check Printer Compatibility: Ensure your printer has a built-in scanner. Most multifunction printers (MFPs) come with scanning capabilities.
- Gather Necessary Materials: You’ll need the document you want to scan, the printer, a computer, and the required cables if you're not using a wireless connection.
Proper preparation ensures a smooth scanning experience without interruptions or missing steps.
Setting Up the Scanner
With your printer and documents ready, the next step is setting up the scanner. This includes installing the necessary software and ensuring a proper connection between the printer and your computer.
Installing and Updating Driver Software1. Install Printer Software: Use the installation CD provided with your printer or visit the manufacturer's website to download the latest drivers.2. Update Software: Regularly check for software updates to ensure you have the latest features and fixes.
Connecting the Printer to Your Computer1. Wired Connection: Connect the printer to your computer using a USB cable.2. Wireless Connection: Follow the printer's manual to connect it to your Wi-Fi network. Make sure your computer is on the same network.
Setting up the scanner correctly is crucial for a hassle-free scanning process. Let’s move on to the fun part: scanning your document.
Scanning a Document: Step-by-Step Guide
Here’s where the main action happens. Follow these steps to scan your document efficiently:
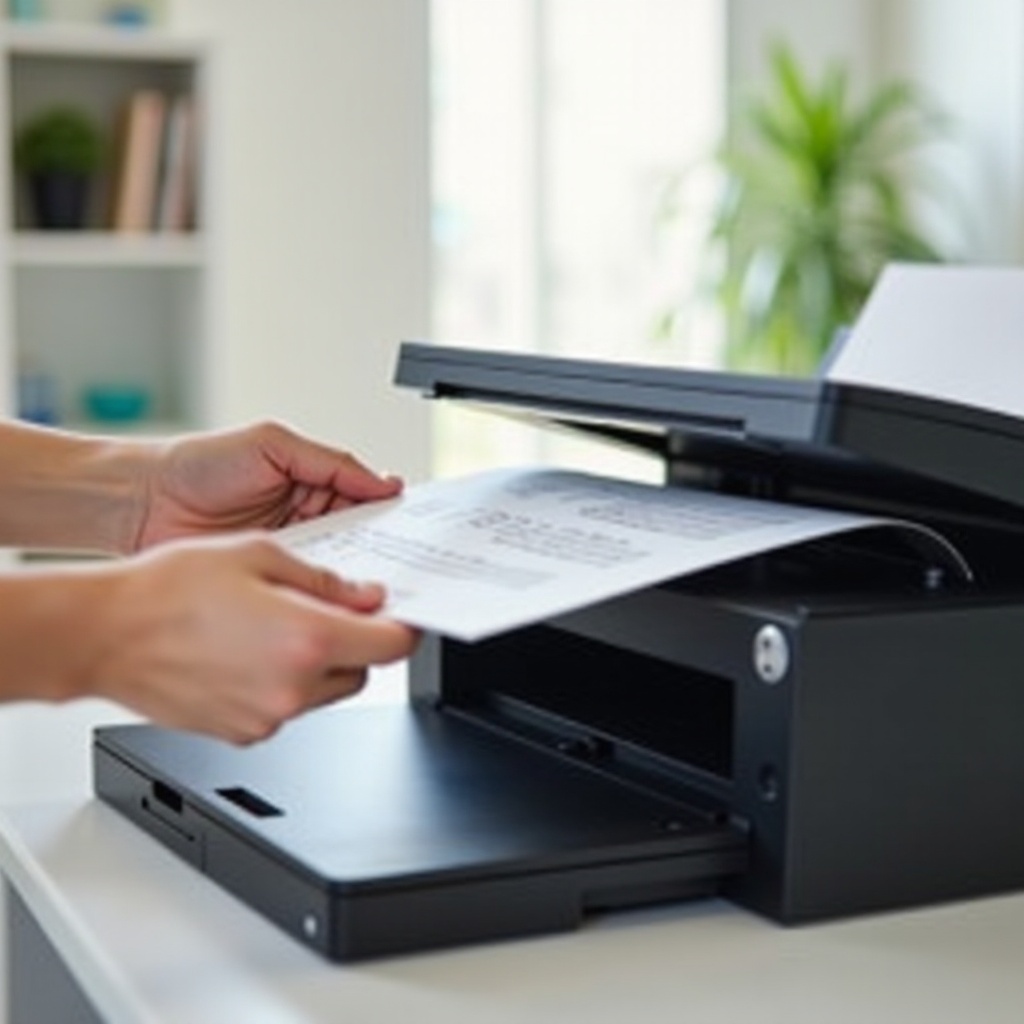
Placing the Document Correctly1. Open the Scanner Lid: Lift the lid of the scanner bed.2. Place the Document: Position the document face down on the scanner glass, aligning it with the indicated guides to ensure a straight scan.
Configuring Scan Settings1. Open the Scanning Software: Use the software installed earlier or a built-in app like Windows Scan or Preview on Mac.2. Select Scan Settings:- Resolution: Higher DPI (dots per inch) for clear scans (300 DPI for text, 600 DPI or more for images).- Color Mode: Choose color, grayscale, or black and white depending on the document type.- File Type: Select the appropriate format (PDF for multiple pages, JPEG for images).
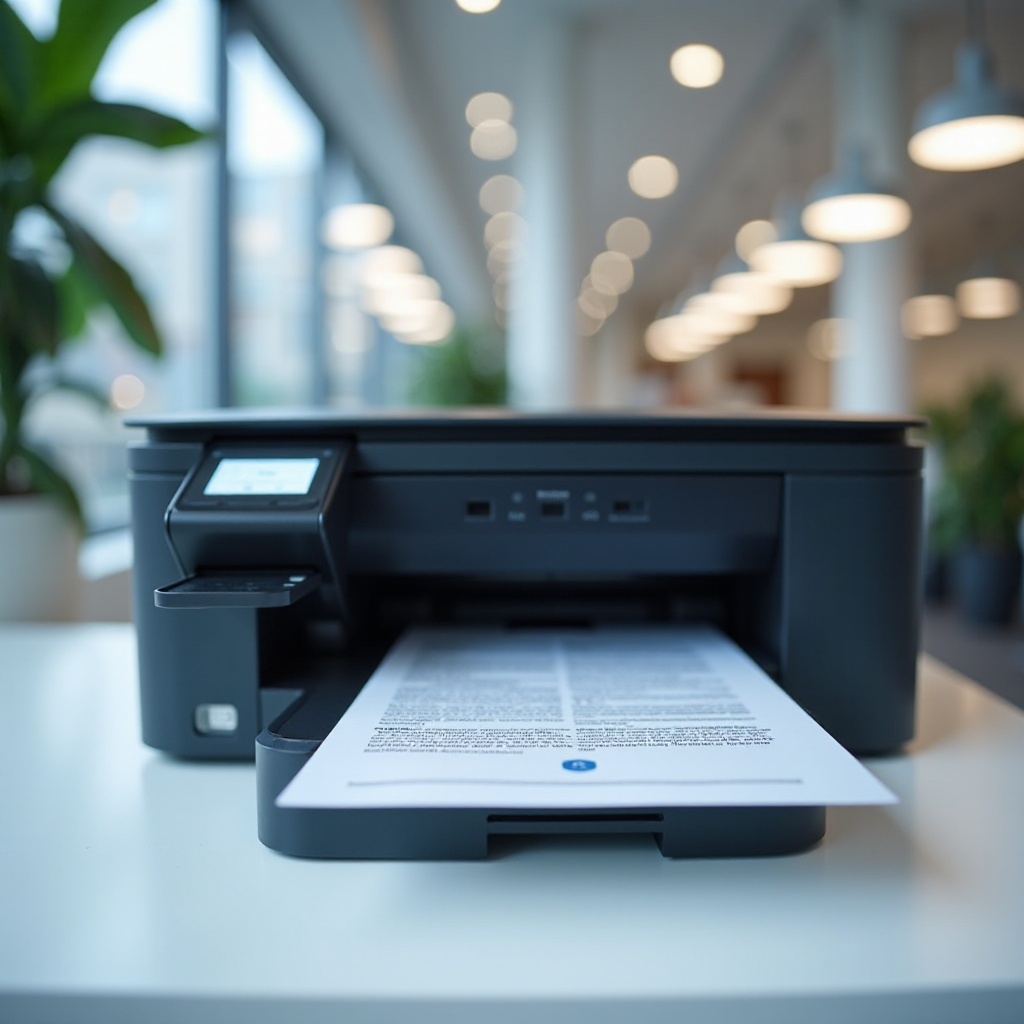
Starting the Scan Process1. Preview the Scan: Use the preview function to see what the scan will look like and make any adjustments.2. Initiate the Scan: Click the scan button. Wait for the process to complete without moving the document.
By following these steps, you can ensure that your document is scanned accurately and efficiently.
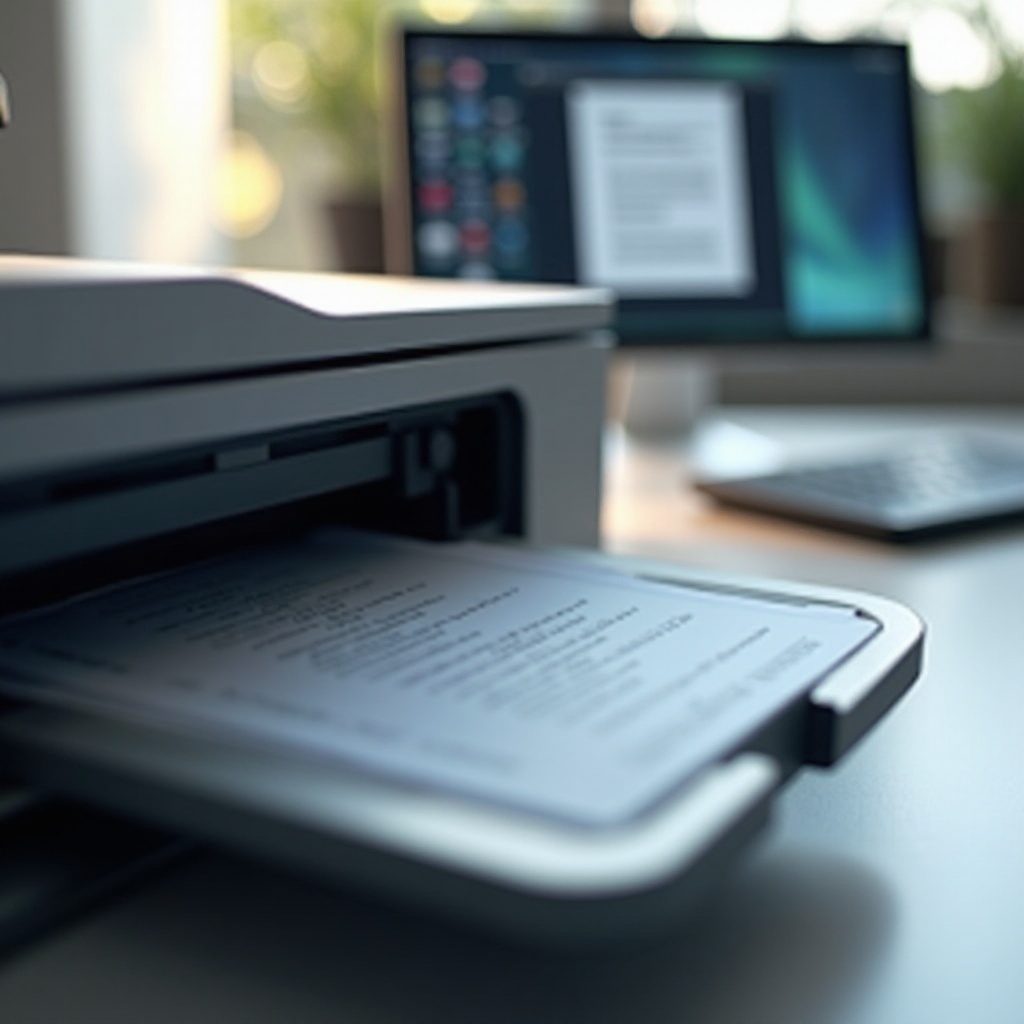
Saving and Managing Scanned Documents
Once your document is scanned, the next step is saving and organizing it properly.
Choosing the Right File Format1. PDF: Ideal for text documents and multi-page files.2. JPEG/PNG: Best for images and graphics.
Organizing Scanned Documents on Your Computer1. Create Folders: Organize files into designated folders for easy location later.2. Name Files Appropriately: Use clear and descriptive filenames to identify documents quickly.
Proper file management ensures that your scanned documents are both useful and easily accessible when needed.
Troubleshooting Common Issues
Even with the best setup, things can sometimes go wrong. Here’s how to handle common scanning issues:
What to Do If the Scan Doesn’t Work1. Check Connections: Ensure that all cables are connected properly or that the wireless signal is strong.2. Restart Devices: Sometimes, simply restarting the printer and computer can solve connectivity issues.
Tips for Clear, High-Quality Scans1. Clean the Scanner Glass: Dust and smudges can affect scan quality.2. Adjust Settings: Sometimes, tweaking the resolution or color settings can resolve quality issues.
By troubleshooting these common problems, you can maintain a smooth scanning process.
Additional Tips and Tricks
To get the most out of your scanning experience, consider these advanced tips:
Using Advanced Scan Features1. OCR (Optical Character Recognition): Allows you to convert scanned documents into editable text files.2. Duplex Scanning: Some scanners can scan both sides of a document simultaneously, saving time for double-sided documents.
Maintaining Your Scanner for Best Performance1. Regular Cleaning: Keep the scanner bed and ADF (automatic document feeder) clean.2. Software Updates: Regular updates can improve performance and add new features.
These tips will help you use your scanner more effectively and keep it in good working condition.
Conclusion
Scanning documents on a printer doesn’t have to be a daunting task. By following the steps outlined in this guide, you can scan, save, and manage your documents with ease. Proper setup, attention to detail, and regular maintenance will ensure that your scanning process is efficient and produces high-quality results.
Frequently Asked Questions
What are the common reasons a scan might fail?
Incorrect setup, loose connections, software not installed properly, and outdated drivers are common reasons. Double-check all these aspects to troubleshoot.
How can I scan multiple pages into one document?
Use the PDF format and the automatic document feeder (ADF) if available. Most scanning software also allows you to combine multiple scans into a single PDF.
What’s the best resolution for scanning photos versus text documents?
For text documents, 300 DPI is usually sufficient. For photos and images, opt for a higher resolution such as 600 DPI or more to capture detailed visuals.