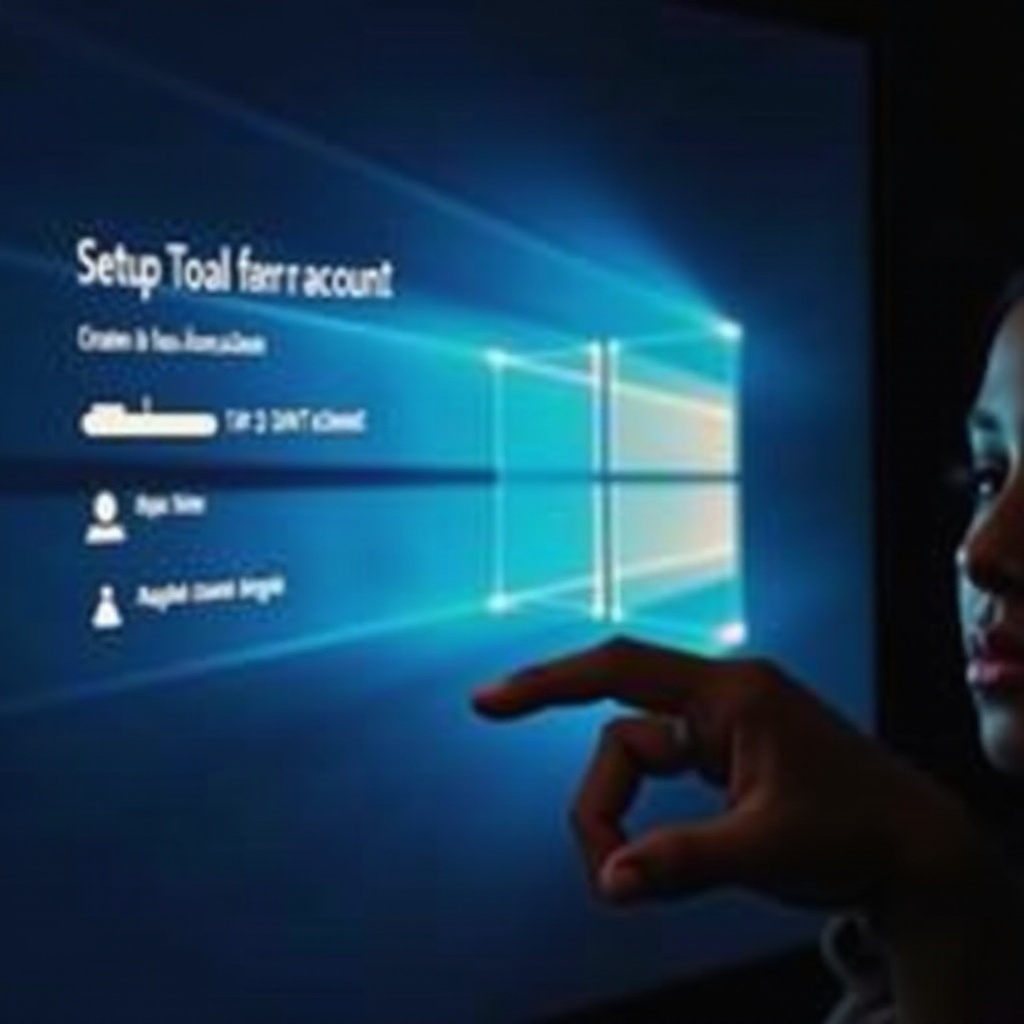
Setting up Windows 11 without a Microsoft account is a common request among users who prioritize privacy and simplicity. Despite Microsoft's push towards online accounts, there are valid reasons to opt for a local account. This guide will walk you through the process of installing Windows 11 without linking it to a Microsoft account, providing you with a seamless and straightforward experience.
Why Choose a Local Account?
There are several advantages to using a local account on Windows 11. Local accounts enhance privacy by keeping your data stored locally on your device, rather than syncing it with Microsoft's servers. This means your personal information, files, and preferences remain on your computer, giving you greater control over your data. Additionally, local accounts reduce dependency on internet connectivity, allowing you to use your computer without the need for a constant online connection. This can be particularly beneficial in scenarios where internet access is limited or unreliable.
Local accounts are also ideal for specific use cases. For instance, if you're setting up a computer for a child, a local account ensures that their activities are contained within the device and not linked to a broader online profile. Similarly, if you plan to sell, give away, or donate a computer, a local account allows you to transfer the device without granting access to your personal Microsoft account information. Furthermore, some users simply prefer the simplicity and autonomy of managing their computer without the integration of Microsoft's cloud services.
Method 1: Using Command Prompt During Setup
If you're looking for a straightforward way to set up Windows 11 without a Microsoft account, using the Command Prompt during the installation process is an effective method. Here's a step-by-step guide to help you through it:
Step 1: Boot from the Windows 11 USB Drive
Begin by creating a bootable Windows 11 USB drive. Insert it into your computer and restart your device. Access the boot menu by pressing the appropriate key (usually F12, F2, or ESC, depending on your computer's manufacturer). Select the USB drive as the boot source and proceed.
Step 2: Access the Command Prompt
Once the Windows 11 setup screen appears, navigate through the initial prompts until you reach the "Regional settings" page. Here, you'll have the opportunity to open the Command Prompt. Press Shift + F10 on your keyboard to launch the Command Prompt window.
Step 3: Disable Internet Connection Requirement
In the Command Prompt, type the following command and press Enter: start ms-cxh:localonly. This command disables the internet connection requirement for the setup process. Your computer will restart, bringing you back to the setup screen.
Step 4: Complete the Setup Process
After restarting, press Shift + F10 again to open the Command Prompt. Type ipconfig /release and press Enter to disconnect your computer from the internet. Close the Command Prompt and continue with the setup. Select your region, keyboard layout, and other preferences. When prompted to connect to a network, click "I don't have internet." Proceed to create a local account by entering a username and password. Complete the remaining setup steps, and you'll have Windows 11 installed with a local account.

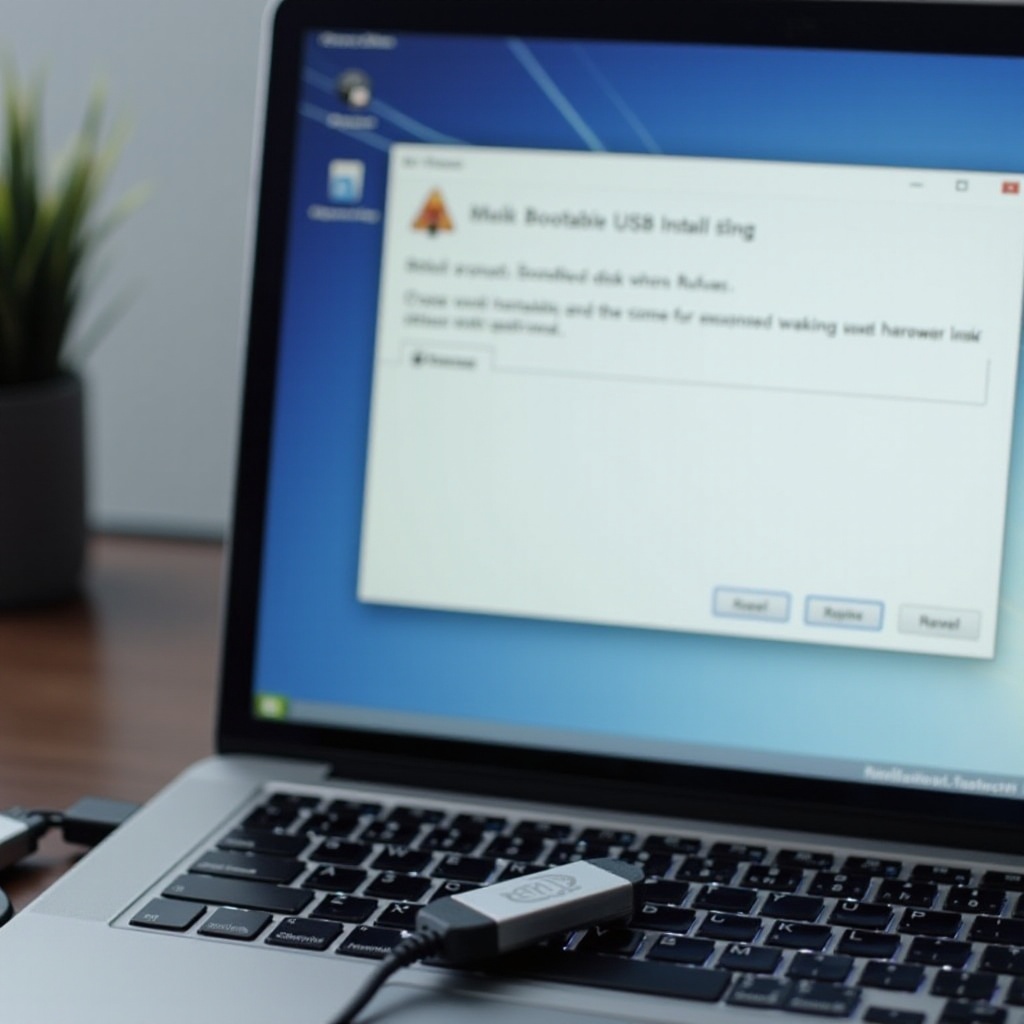
Method 2: Creating a Modified USB Install Disk with Rufus
For those who prefer a more automated approach, creating a modified USB install disk using Rufus is a reliable method. Rufus is a popular tool that allows you to customize your Windows installation media. Here's how to do it:
Step 1: Download and Install Rufus
Visit the official Rufus website and download the latest version of the tool. Run the installer and complete the setup process. Rufus is a lightweight application that doesn't require complex installation steps.
Step 2: Download the Windows 11 ISO File
Obtain the Windows 11 ISO file from Microsoft's official website. Ensure you select the correct version that matches your requirements (Home, Pro, etc.). Save the ISO file to a location on your computer that's easily accessible.
Step 3: Configure Rufus Settings
Insert a USB flash drive with a minimum capacity of 8GB into your computer. Open Rufus and select the USB drive from the list of available devices. Click on the "SELECT" button and choose the Windows 11 ISO file you downloaded earlier.
Step 4: Create the Modified USB Drive
Before starting the creation process, click on the "START" button in Rufus. A dialog box will appear with various options. Enable the "Remove requirement for an online Microsoft account" option. You can also choose to set regional options and create a local account with a specified username to further streamline the installation process. Click "OK" to proceed. Rufus will format the USB drive and copy the necessary files, which may take a few minutes. Once completed, you'll have a customized bootable USB drive.
Step 5: Use the Modified USB Drive for Installation
Insert the modified USB drive into the target computer and boot from it. Follow the on-screen prompts, and you'll notice that the setup process no longer requires an internet connection or a Microsoft account. Proceed to create a local account by providing a username and password. Complete the installation steps, and your computer will be set up with Windows 11 using a local account.
Important Considerations and Risks
While setting up Windows 11 without a Microsoft account offers privacy and simplicity, there are a few considerations and potential risks to keep in mind. Without a Microsoft account, you may miss out on certain features and services that are integrated with Microsoft's ecosystem. These include automatic synchronization of settings and files across devices, access to OneDrive storage, and some Microsoft 365 functionalities. Additionally, some updates and security patches may require a Microsoft account for optimal functionality.
From a security perspective, it's crucial to establish a strong password for your local account. Since you won't have the added layer of protection provided by Microsoft's online security measures, a robust password becomes even more vital in safeguarding your device. Furthermore, be aware that Microsoft could potentially address these bypass methods in future updates, which might affect the longevity of these solutions. It's advisable to stay informed about any changes to Windows 11's setup process that could impact your ability to use a local account.
Conclusion
Setting up Windows 11 without a Microsoft account is a feasible option for users who value privacy and simplicity. By following the methods outlined in this guide, you can successfully install Windows 11 with a local account, bypassing the need for an online Microsoft account. However, it's essential to weigh the benefits against the potential limitations and risks. Consider your specific needs and circumstances before deciding whether a local account is the right choice for you. With the right approach, you can enjoy a Windows 11 experience that aligns with your preferences and requirements.
Frequently Asked Questions (FAQ)
Can I still receive Windows updates without a Microsoft account?
Yes, you can still receive Windows updates without a Microsoft account. However, some updates may require additional steps or configurations. It's recommended to keep your system updated for security and functionality purposes.
Will I lose access to OneDrive and Microsoft 365 features?
Access to OneDrive and certain Microsoft 365 features may be limited without a Microsoft account. These services are closely integrated with Microsoft accounts, so using a local account might restrict some functionalities related to cloud storage and office applications.
How do I troubleshoot issues if I don't have a Microsoft account?
Troubleshooting can be done through local system tools and Microsoft's support resources. While some troubleshooting steps may be streamlined with a Microsoft account, you can still resolve many issues by using the built-in tools and following official Microsoft support guidelines.